Wanna make your Halloween decor look super impressive? Start by choosing bold colors like black and orange, and use different paper textures for fun effects. Grab some sharp scissors and plan out spooky cutouts like bats and ghosts. Don’t forget to layer your designs to add dimensions! Use liquid glue or double-sided tape to hold everything together. Got extra paper? Upcycle it for even more cool decorations! Keep on exploring, and you’ll pick up more tricks to wow your friends! Consider incorporating some unique lighting elements, like string lights or flickering candles, to create an eerie atmosphere. You can find plenty of halloween decor ideas for your room online, which can inspire your creative process and help you discover new techniques. Lastly, don’t hesitate to invite friends over for a crafting night—sharing ideas can lead to even more amazing creations!
Choosing the Right Paper for Your Crafts
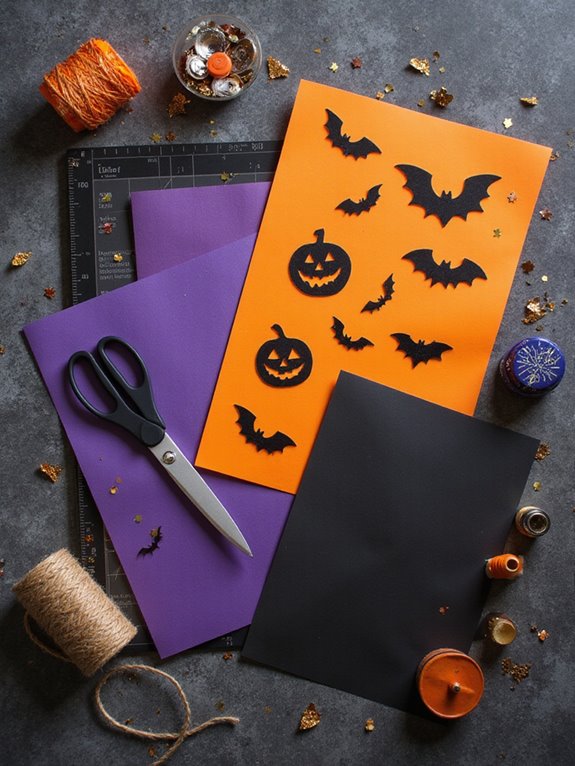
When you’re diving into the spooky fun of making Halloween decor, picking the right paper can really make a difference! You wouldn’t want your ghostly creations to flop like a pancake, right?
So, consider your color choices—go bold with blacks and oranges, or keep it eerie with deep purples and whites.
Next, think about paper weights; they can change everything! Lighter weights work great for detailed cuts, while heavier ones are perfect for sturdy decorations.
Essential Tools for Paper Crafting
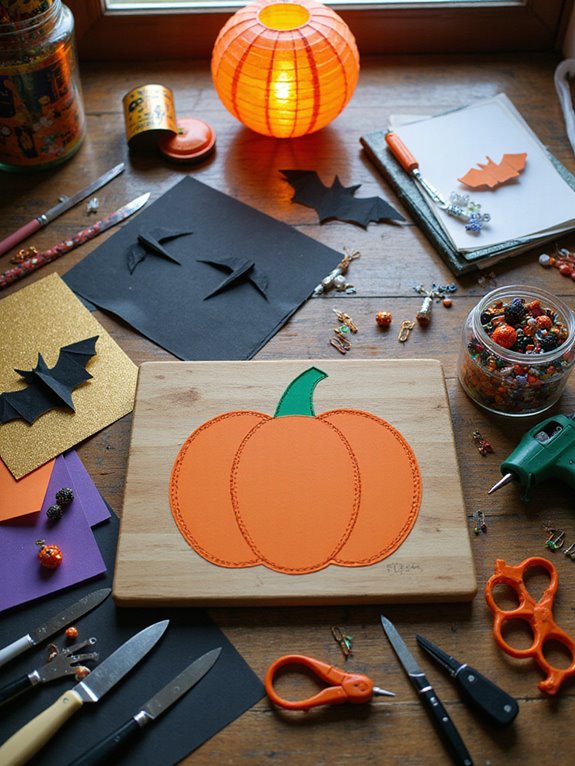
Every great paper craft starts with the right tools, and you’ll want to have them ready before you set free your creativity!
Grab a sharp pair of scissors or, even better, a paper cutter—it’s like a lightsaber for crafting! You’ll need craft glue and a reliable ruler, ’cause measuring is key and keeps you from turning your masterpiece into a chaotic puzzle.
Don’t forget colorful markers for those finishing touches!
With these essential tools in hand, you’re all set to explore your paper cutting adventures and fancy crafting techniques.
Planning Your Design Layout
A solid design layout is like a blueprint for your Halloween decorations—it’s where all the magic begins! Grab some design inspiration from spooky movies or Pinterest, then get sketching.
Don’t worry if your ghosts look a little more friendly than frightful—that’s part of the fun! Create layout sketches to plan the placement of your pumpkins, bats, and cobwebs.
Remember, there’s no such thing as being too extra (unless you’re dressing up as Frankenstein). So, give yourself a chance to play with shapes and sizes.
Your future self will thank you when you create a perfectly thrilling Halloween vibe!
Easy Spooky Cutouts
Spooky cutouts are a fantastic way to bring a Halloween vibe to your space, and the best part? They’re super easy to make! Grab some colorful paper in those festive colors, like orange and black, and let your imagination run wild.
Think ghosts, bats, and creepy cats, all just waiting to scare up some fun! You’ll want to create spooky themes that tickle your funny bone and make your friends giggle.
Just fold your paper, cut out shapes, and voilà—instant Halloween charm! Hang ’em up, and enjoy your haunting masterpiece. Who knew decorating could be a scream?!
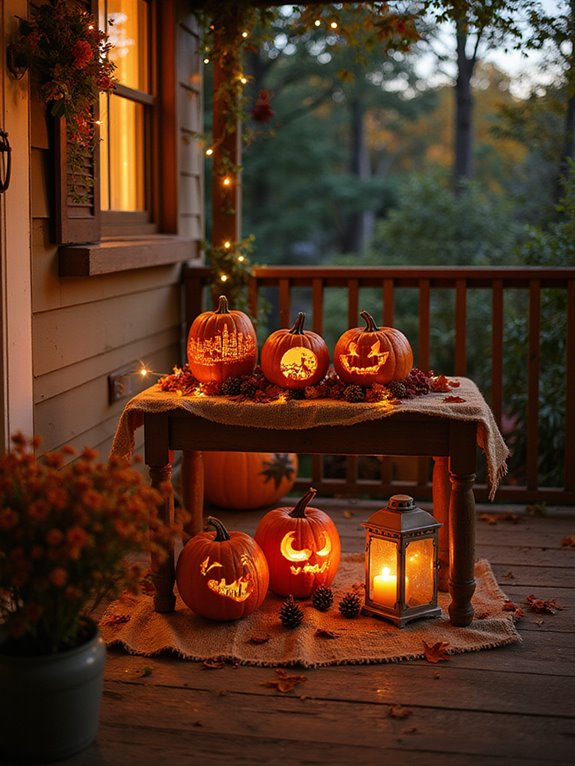
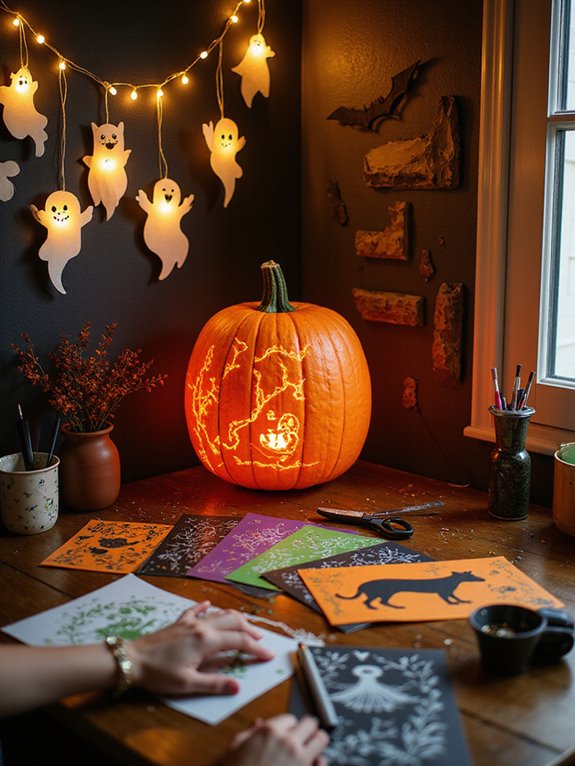
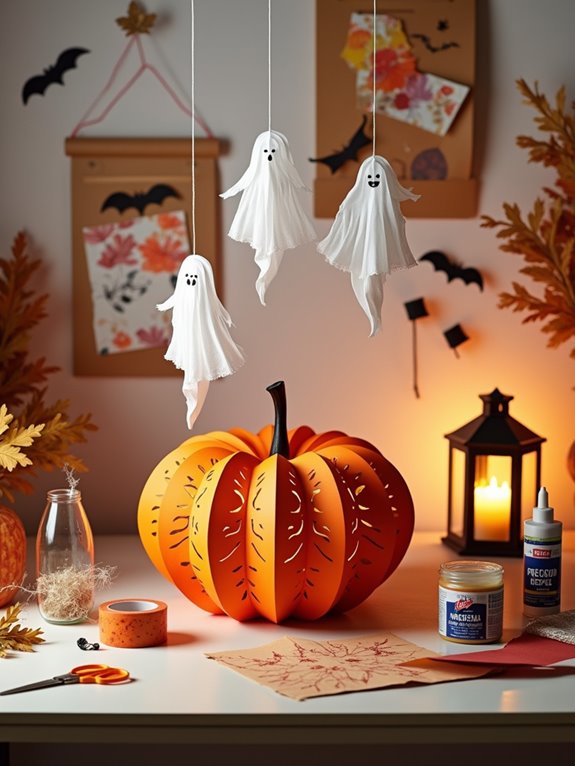
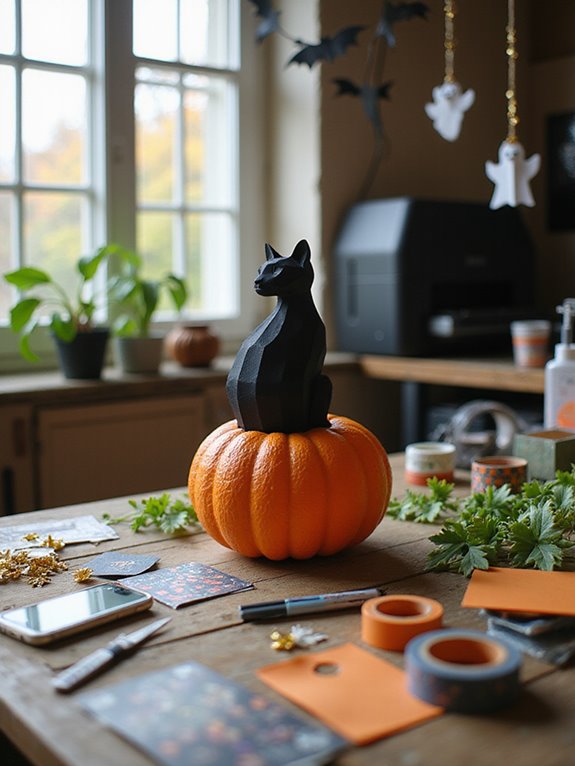
How to Create Pumpkin Decorations
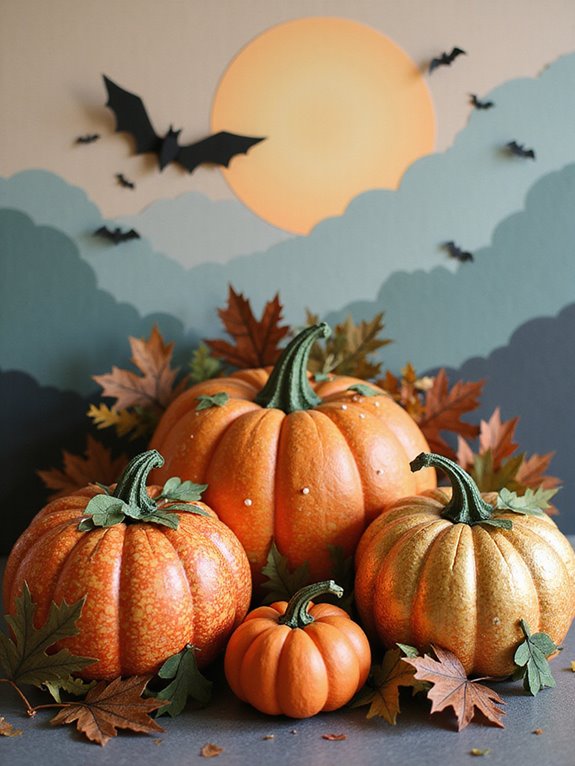
Pumpkin decorations are an absolute must for any Halloween celebration, adding that perfect touch of festivity!
Ever thought of pumpkin painting? It’s like giving your gourd a makeover! Grab some vibrant colors and let your creativity shine—who said pumpkins can’t wear polka dots?
Or go traditional with pumpkin carving; just make sure you’ve got a steady hand, or your jack-o’-lantern might end up looking more surprised than spooky!
And hey, don’t forget to save those seeds for roasting! So, which will you choose? An elegant painted pumpkin or a goofy carved one? The choice is all yours!
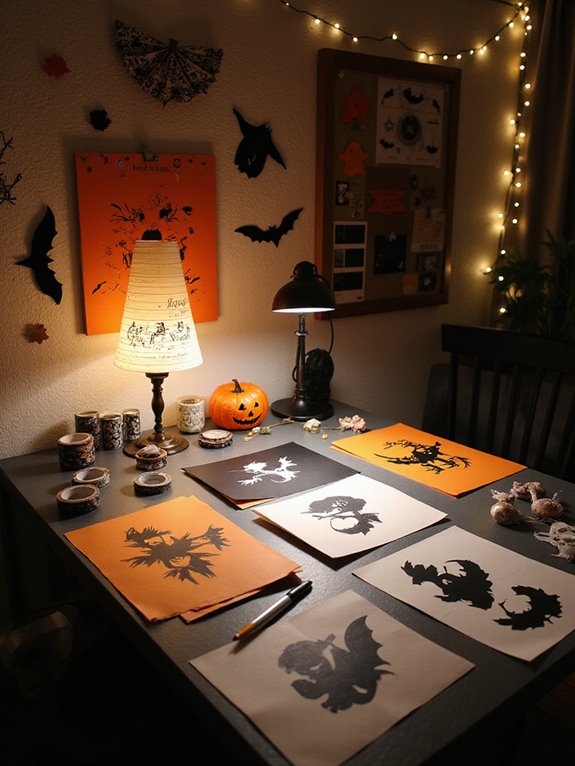
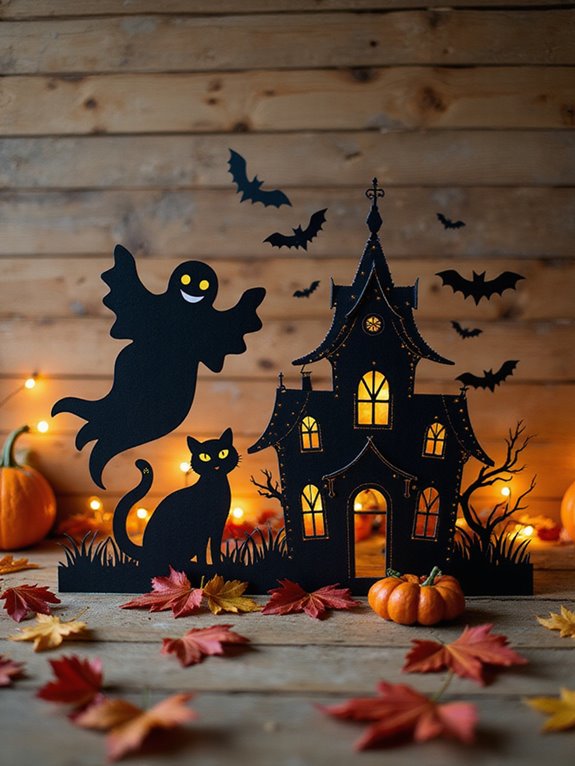
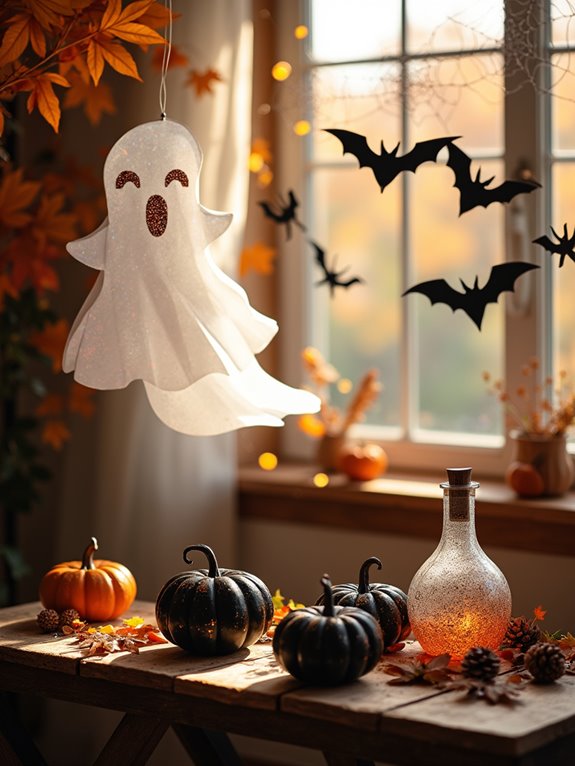
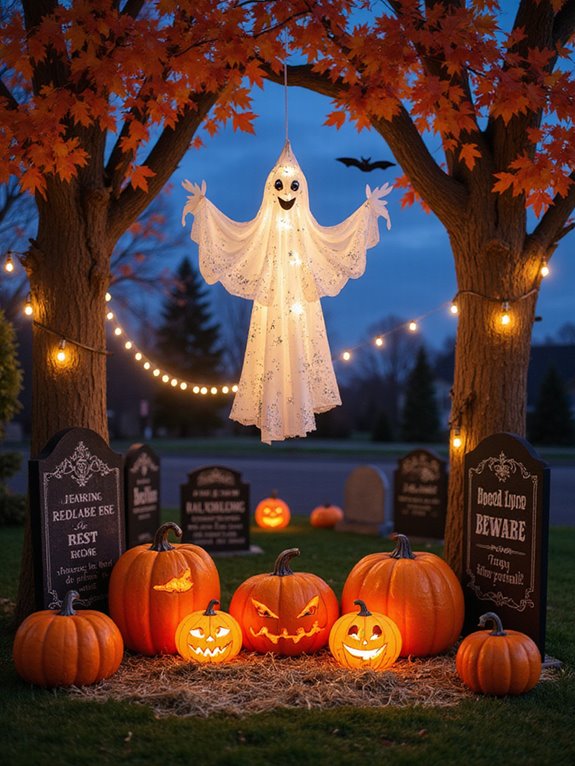
Crafting Ghostly Silhouettes
Once you’ve got those pumpkins all decked out, why not add some ghostly flair to your Halloween decor?
Grab black construction paper and cut out spooky ghost designs using simple silhouette techniques. Don’t worry if they look a bit lopsided—ghosts are supposed to be wobbly, right?
Hang these specters in your windows or float them from tree branches to frighten unsuspecting trick-or-treaters. You can even give them silly faces for a laugh!
Making a Festive Paper Garland
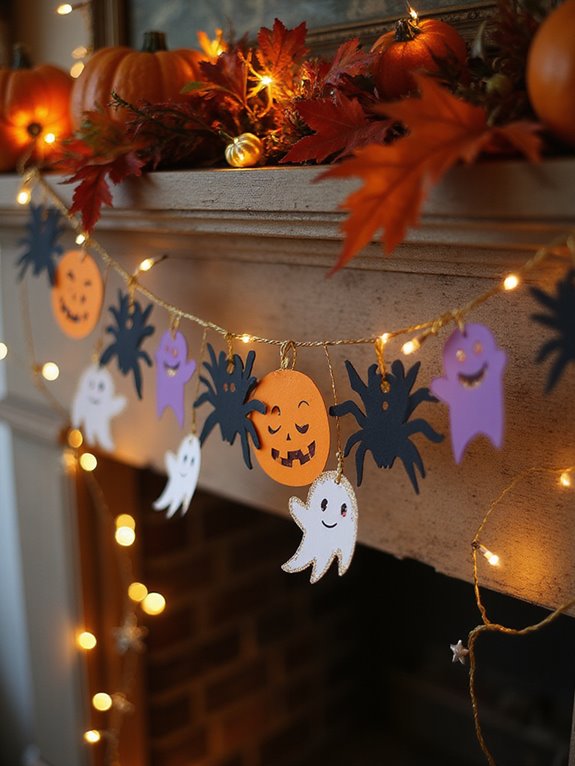
Creating a festive paper garland can be one of the easiest and most fun Halloween crafts you’ll tackle this season!
Grab some colored paper in spooky garland colors like orange, black, and purple. Cut out shapes—think ghosts, bats, or pumpkins—then string ’em together.
It’s like making a Halloween necklace, but way less awkward at parties! Hang it up to showcase your seasonal themes, and watch as your friends exclaim, “Wow, I didn’t know you were a DIY wizard!”
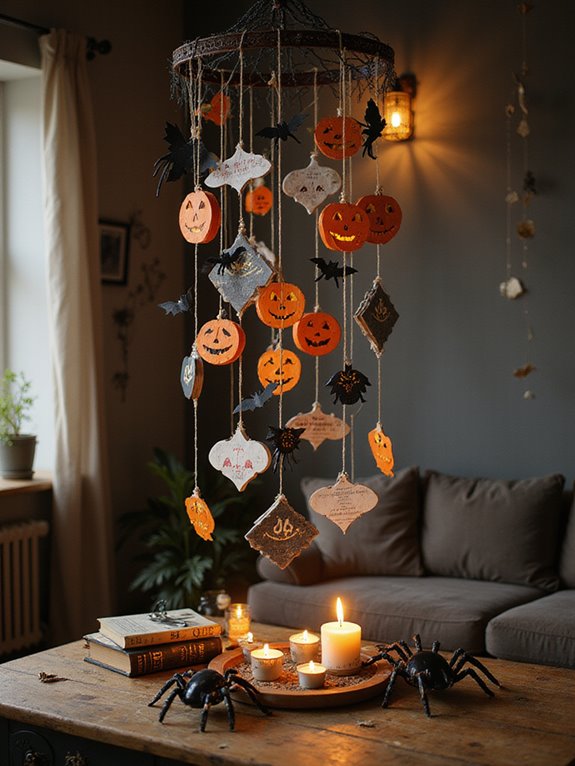
Designing Hanging Spider Decorations
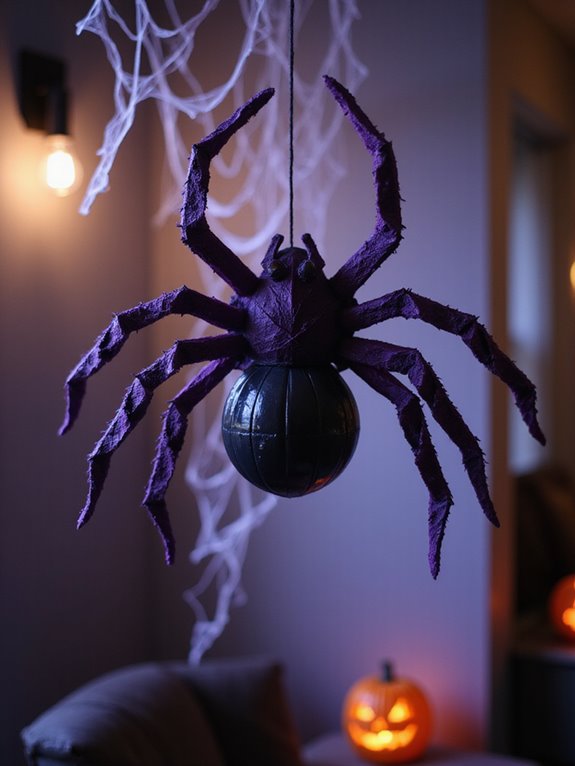
After you’ve finished that fabulous paper garland, it’s time to add an extra spooky touch to your Halloween decor with some hanging spider decorations!
Grab some black paper and whip up a few spider designs — think eight-legged critters that could scare a fly!
For hanging techniques, try fishing line for that “floating in the air” vibe, or string them from the ceiling like they’re plotting to drop in on your guests. Can you imagine their faces?
You’ll have a fang-tastic atmosphere!
Using Stencils for Precision
Stencils are often a game-changer when you want your paper Halloween decor to look spot-on! Who wouldn’t want to master some stencil techniques and impress everyone with your precision cutting?
Grab your favorite stencil, tape it down, and let your scissors do the talking. Whether you’re crafting ghostly figures or spooky pumpkins, stencils make it easy, even if your artistic skills are somewhere between Picasso and a toddler!
Once you’ve cut out those perfect shapes, you’ll be the Halloween decorating hero in your circle. So, are you ready to get your spook on? Just remember: no pressure, just fun!
Incorporating 3D Elements in Your Decor
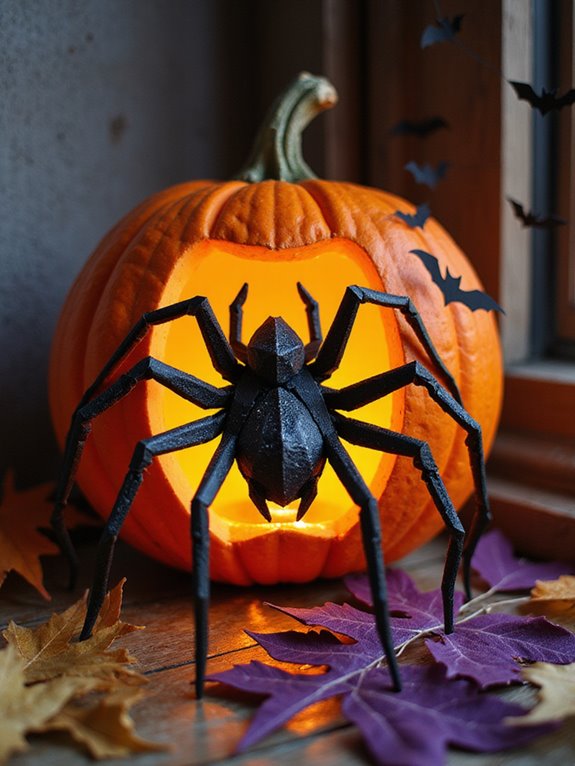
If you want your Halloween decor to truly stand out, adding some 3D elements can make all the difference! Think about crafting 3D shadow boxes that house your spooky masterpiece—it’s like a haunted diorama!
Layered decorations can add depth, so stack those paper cutouts like pancakes (the tastiest kind of fright!). Pop up elements can surprise your guests; who doesn’t love a ghost that jumps out at them?
Finally, create dimensional displays that leap off the walls, making your home a three-dimensional fright fest. Trust me, a little dimension goes a long way in making your haunting vision come alive!
Mastering the Art of Paper Mache
Mastering the art of paper mache can open up a world of creativity for your Halloween decor—trust me, it’s easier than you might think!
First, gather your paper mache supplies: old newspapers, glue, and a bowl of water (don’t worry, this isn’t a science experiment).
Try out fun paper mache techniques like layering. Just dip strips of paper into the glue mix and stick them over a balloon or a creepy sculpture.
Once it dries, reveal your inner artist with paint or spooky designs. Who knew crafting could be this much fun?
Now get ready to impress your friends with your Halloween magic!
Crafting Paper Flowers With a Halloween Twist
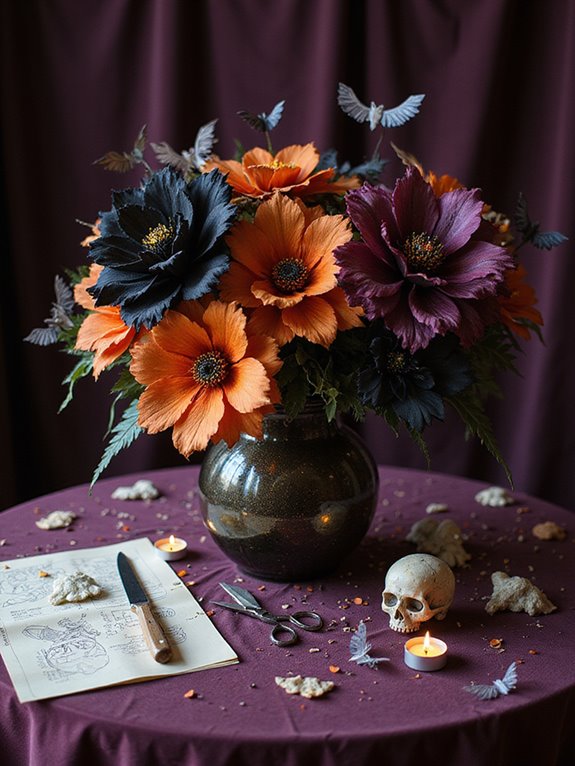
After releasing your creativity with paper mache, it’s time to add some colorful flair to your Halloween decor by crafting paper flowers with a spooky twist!
Imagine vibrant blooms in eerie shades of purple and black, perfect for making spooky centerpieces or festive wreaths. You can use old Halloween-themed wrapping paper or even add googly eyes for that extra fright!
Just gather your scissors, some glue, and a bit of imagination. Who knew flowers could be so frightfully fun?
Are you ready to watch your decorations bloom into the stuff of Halloween legends? Let’s get crafting!
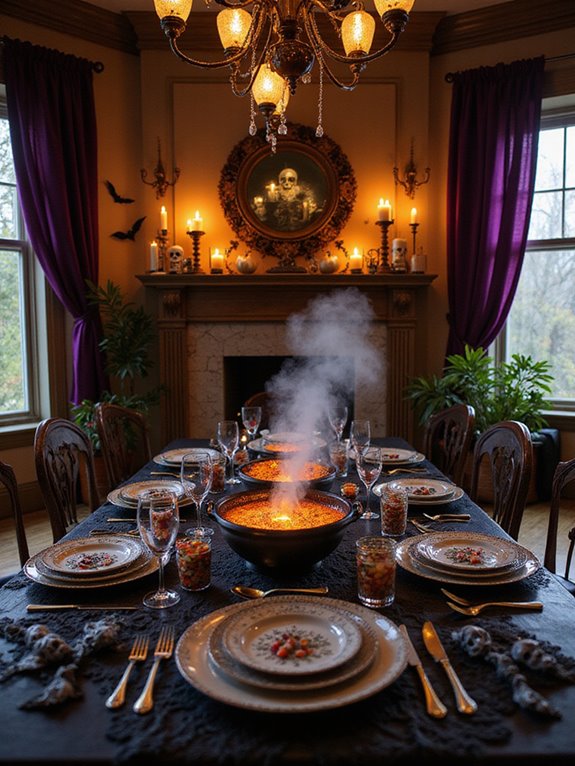
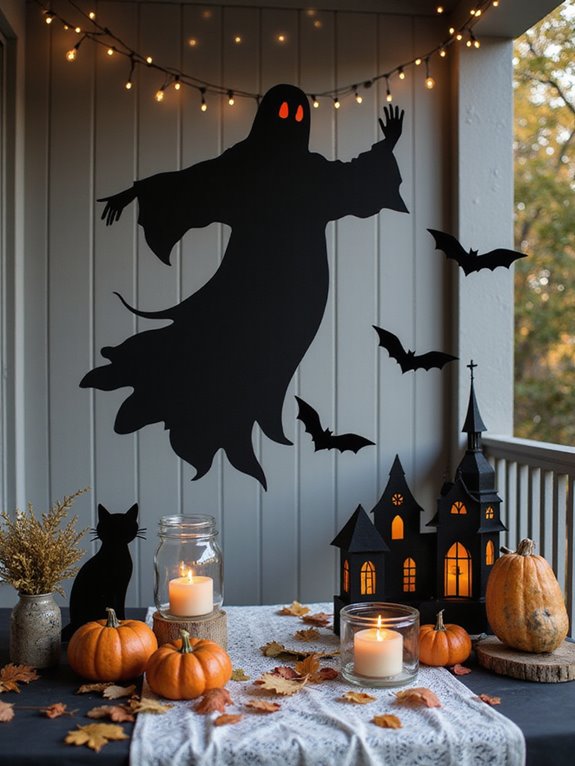
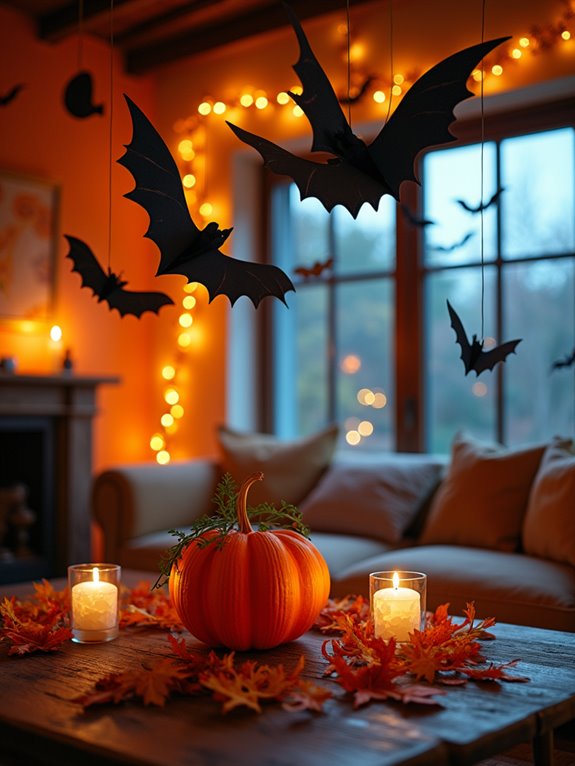
Creating a Haunted House Scene
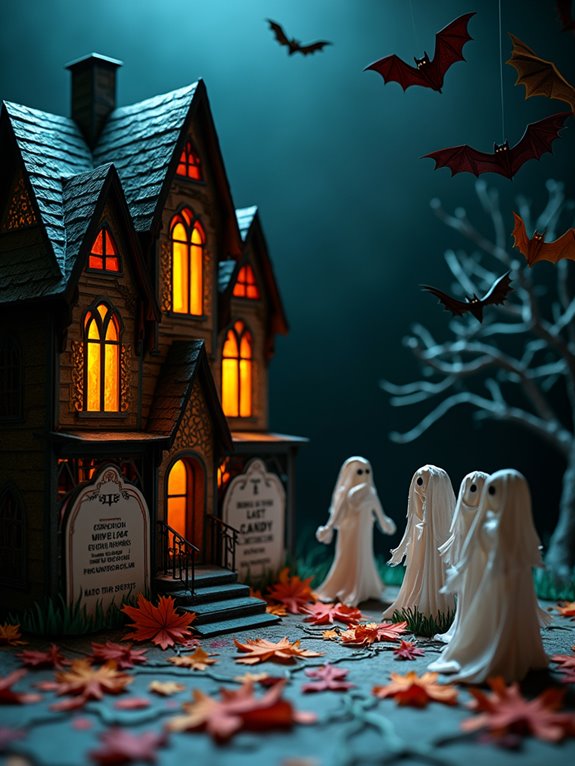
While creating your own haunted house scene might sound a bit tricky, it can actually be one of the most exciting projects of the Halloween season!
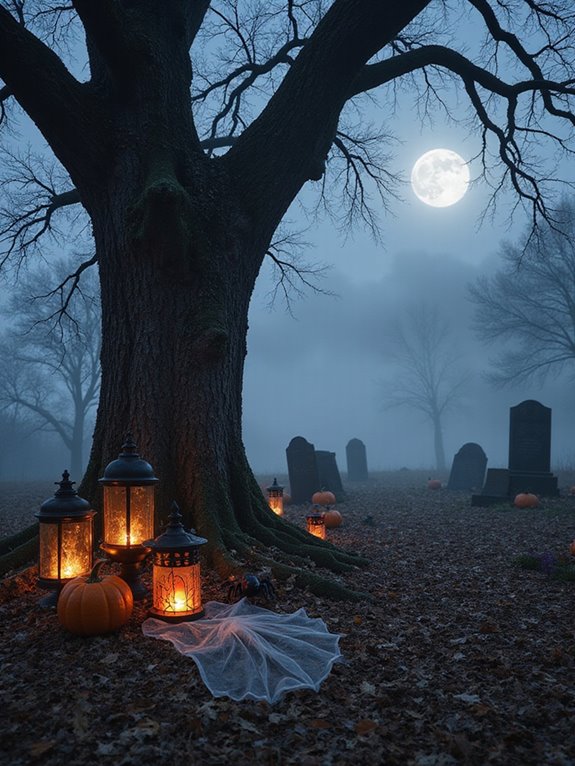
Envision this: cobwebs draping over your paper ghosts, and maybe a spooky paper bat hanging just above the door. Choose a few haunted house themes, like a creepy cemetery or a ghostly attic, and let your creativity run wild!
Don’t forget to add eerie lighting with colored paper lanterns—trust me, it sets the perfect mood.
And hey, what’s a haunted house without a few jump scares? Just watch out for those pesky paper skeletons!
Adding Glitter and Other Embellishments
Have you ever wondered how to make your Halloween decorations really pop? Try some sparkly glitter application to give your ghosts a “boo-tiful” glow!
Grab a paintbrush, dab some glue on strategic spots, and—voilà—sprinkle that glitter like you’re casting a spell!
But wait, there’s more! Try embellishment techniques like adding googly eyes to your paper bats or using colorful ribbons for a festive flair.
These little touches can turn your creations from drab to fab! Just don’t get carried away—too much glitter can turn you into a walking disco ball!
Ready to sparkle up your spookiness? Let’s do it!
Tips for Perfectly Cutting Shapes
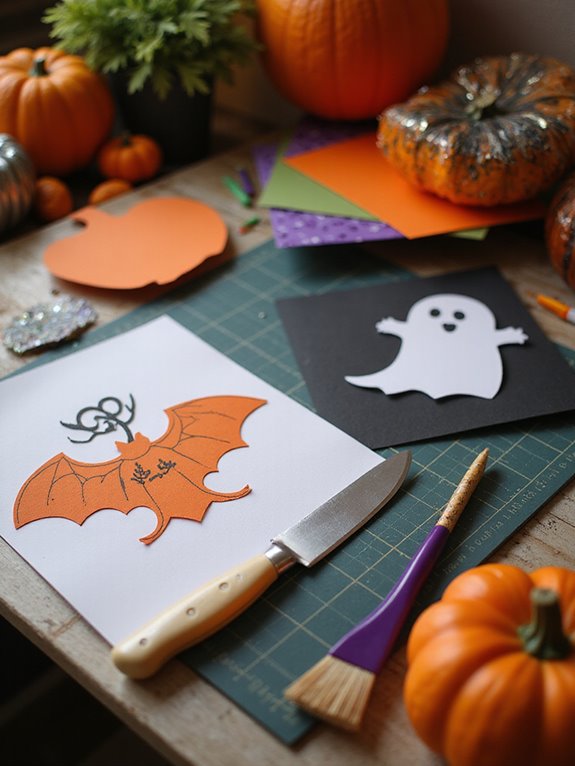
When you’re diving into the fun world of cutting out Halloween shapes, it’s super important to have the right tools and techniques in your toolkit.
Grab some sharp scissors—think ninja level sharp! Use a craft knife and cutting mat for shape precision, too.
When cutting, keep your wrists steady and cut slowly; nobody wants ghostly jagged edges. Try different cutting techniques, like using templates for those tricky angles.
Remember, practice makes perfect, and who cares if you accidentally snip a spooky bat? Just call it abstract art!
Now, get to slicing and let your creativity fly like a bat outta hell!
Adhesives and Their Best Uses
After you’ve got those spooky shapes cut out, it’s time to stick them together and bring your Halloween creations to life!
Choose from various glue types—liquid glue, glue sticks, or even tape (the sneaky sticky solution). Liquid glue takes longer to dry, so be patient, or risk an existential crisis when that ghost falls apart.
If you’re in a hurry, adhesive alternatives like double-sided tape work wonders! For intricate paper projects, consider a glue pen for precision.
Keep your sticky solutions handy, and don’t forget to enchant your friends with tales of your adhesive adventures! Happy crafting!
Displaying Your Paper Decor
Once you’ve transformed your spooky shapes into fabulous paper decor, it’s time to show them off! Use clever display techniques to give your creations a home.
Try hanging creepy cutouts in windows or sticking them on your walls for maximum spookiness. Group them into thematic arrangements—think ghosts on one wall and pumpkins on another. It’ll be like a Halloween party for your eyeballs!
You could even create a spook-tacular centerpiece on your table. Just remember, if your decorations start moving or whispering, it mightn’t be the decor you want to display.
Happy haunting and showcasing your paper masterpieces!
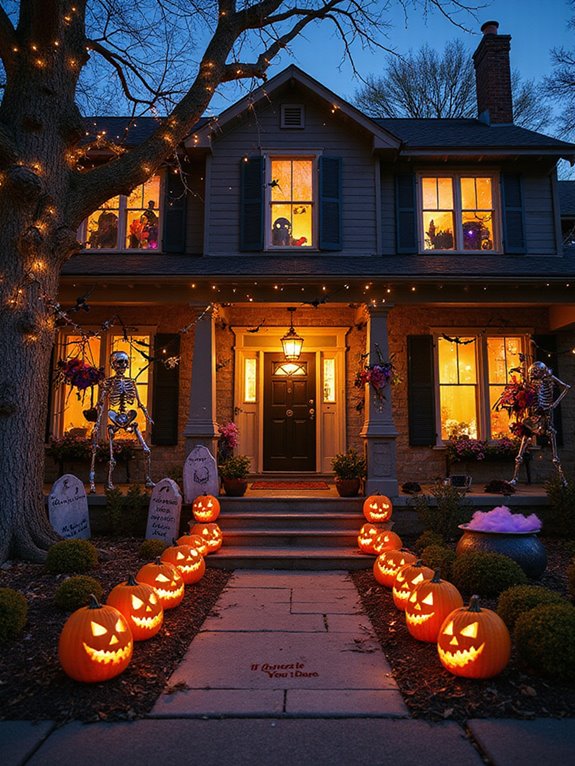
Preparing for an Outdoor Display
Getting ready for an outdoor display can be a blast, and with the right preparations, your paper Halloween decor will shine!
First, think about outdoor lighting. It’s key—otherwise, your ghost cutouts might look like invisible ninjas after dark!
Next, consider the weather. Rain and wind can turn your cheerful pumpkins into sad pulp. So, hang those spooky decorations in sheltered spots or use weather-resistant materials when possible; don’t want your favorite witch blowing away like she’s auditioning for a “Flying Lessons” video!
With these tips, you’ll create a frightfully fun outdoor setup that’ll impress all your neighbors. Let’s get spooky!
Upcycling Paper Products for Halloween
If you’ve got a stash of old paper products lying around, why not turn them into spooky decorations?
Try repurposing magazines by cutting out creepy images and gluing them onto a canvas. You’ll create a haunted masterpiece!
Plus, don’t forget about transforming cardboard—think pizza boxes, not just for pizza! Cut them into bats or ghosts and hang them around your space.
It’s like your artworks finally get their chance to shine! So, gather your supplies, and let your imagination run wild.
Sharing Your Creations on Social Media
Sharing your spooky creations on social media can be a fun way to show off your Halloween spirit! Snap some pics that have killer photo composition—think angles that make your paper ghosts look like they’re floating!
And don’t forget your hashtag strategy! Use tags like #HalloweenHilarity and #PaperSpooktacular to let your crafts haunt the feeds of fellow Halloween lovers.
You could even challenge friends with a spooky decor contest; just make sure you’re not the only one with the pumpkin spice latte!
Get ready to share those paper masterpieces and watch the likes roll in with a wicked grin!
Frequently Asked Questions
How Can I Ensure My Paper Decor Withstands Humidity?
To keep your paper decor intact, control that humidity! Seal ’em with a paper treatment spray. Your haunted creations will laugh in the face of moisture while looking spooktacular, not soggy. It’s a win-win!
What Colors Work Best for Halloween Paper Decor?
Want your Halloween decor to frightfully pop? Go for classic orange and black, adding spooky pastels like purple and green for fun! Trust me, your decorations will be more bewitching than a haunted house full of candy!
Can I Recycle Paper Used for Decorations After Halloween?
Yes, you can recycle those spooky decorations! Just check local recycling guidelines first. Keeping your Halloween fun sustainable is a great trick, and it’s way better than letting ghosts haunt your trash can!
How Do I Store My Paper Decorations for Next Year?
Store your paper decorations in an airtight container—think of it as a spooky treasure chest! Use acid-free tissue for decoration preservation, and you’ll keep those ghostly beauties safe until next year’s Halloween shenanigans.
What Themes Can I Use for Paper Decor Besides Halloween?
You can choose Christmas themes with snowflakes, Easter themes featuring bunnies, birthday themes blasting balloons, summer themes showcasing sunshine, autumn themes celebrating leaves, or floral themes bursting with blooms. Your paper will party all year long!
Conclusion
Now that you’re ready to jump into your paper Halloween decor adventure, here’s a fun fact: Americans throw away about 25% more trash during Halloween! So, think green by upcycling and reusing materials for your spooky crafts. Don’t be shy—share your wickedly cool creations on social media with friends. They’ll be amazed at what you can make with just a few sheets of paper! Let your imagination run wild and show everyone your crafty spirit this Halloween!